Tools
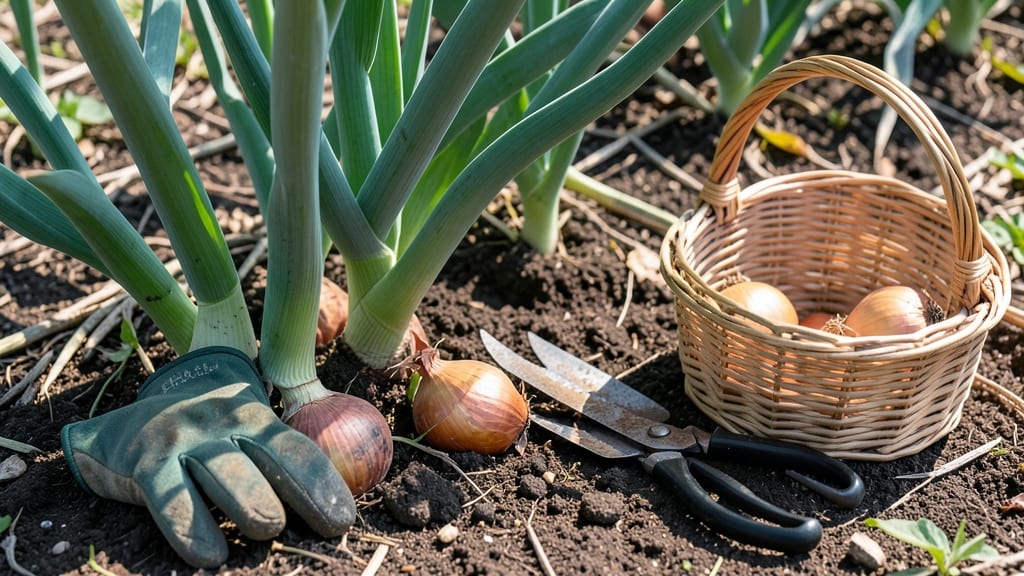
Pull onions from your garden when their tops yellow and flop over 🧅—that’s the moment between perfect flavor and tough, pungent bulbs.
If you’ve ever dug up onions only to find them small and watery, or waited too long and ended up with bitter, shriveled roots, you know timing is everything.
The difference between a harvest that stores well and one that spoils in days often comes down to a few simple visual cues you might be missing.
Most gardeners in USDA Zone 6a can expect their onions ready for harvest between June and July, but the exact moment depends on bulb size, weather, and how your plants look.
I’ll walk you through the three key signs to watch for—so you can pull them at the peak of freshness and avoid the common mistakes that ruin a season’s work.
Once you spot these cues, you’ll also learn how to cure and store your onions for maximum shelf life, ensuring you enjoy homegrown flavor all winter long. No more guessing—just a foolproof method for perfect harvests every time.
3 Visual signs your onions are ready for harvest (with photos)
Harvesting onions at the right time transforms your garden into a treasure trove of flavorful bulbs instead of tough, pungent leftovers. The key lies in spotting three critical visual cues that signal perfect maturity.
Ignoring these signs often leads to overripe onions that split or develop hollow centers—so let’s dive into what to watch for.
First, pay attention to the leaf color. When your onion tops turn from vibrant green to a straw-yellow hue, it’s nature’s way of saying, "Time to harvest!"
This color shift happens as the plant redirects energy from leaf growth to bulb development. Wait too long, and those once-lush leaves will dry into brittle husks.
Next, check the bulb size by gently brushing away soil. Ready-to-harvest onions should measure about 1-2 inches in diameter. Smaller bulbs won’t store well, while larger ones risk splitting. Pro tip: Use your thumb and forefinger to squeeze the bulb lightly—it should feel firm, not mushy.
Finally, observe the neck of the onion. When it begins to dry out and shrink, that’s your final cue.
This neck acts like a bridge between the bulb and leaves, and its drying signals the plant’s energy has fully transferred to the bulb below. Don’t pull too early, or you’ll miss out on maximum flavor and storage potential.
| Sign | Description | Action |
|---|---|---|
| 🟡 Yellow Tops | Leaves turn straw-colored and flatten | Harvest within 1-2 weeks |
| 🧅 Firm Bulbs | Bulbs reach 1-2 inches in diameter, feel solid | Gently pull from soil |
| ✂️ Drying Neck | Stem between bulb and leaves shrinks and dries | Harvest immediately for best storage |
| 🌱 Papery Skin | Outer layers become dry and papery | Cure in dry, shaded area for 2-3 weeks |
Avoid the common mistake of harvesting too early just because the tops look ready. Small bulbs won’t store well and often lack flavor. Conversely, waiting too long risks splitting or rotting, especially in humid climates.
I’ve learned this lesson the hard way—last summer, I waited an extra week, and half my crop turned to mush!
For regional adjustments, note that cooler climates (like USDA Zone 5) may need 1-2 extra weeks of growth compared to warmer zones (Zone 8+). Always check your local frost dates—if frost is forecast within 2 weeks, harvest even if the tops aren’t fully yellow.
Once you spot these signs, harvest on a dry day to prevent soil from sticking to the bulbs. Use a fork to loosen the soil around the base, then gently pull the onion. Shake off excess dirt, but don’t wash them—moisture speeds up spoilage during curing.
After harvesting, let onions cure in a dry, shaded spot for 2-3 weeks. This step develops their sweetness and extends shelf life. Store cured onions in a cool, dark place with good airflow, like a mesh bag in the pantry.
Proper curing turns a good harvest into a long-term pantry staple.
Remember, the perfect onion balances size, color, and neck dryness. Master these visual cues, and you’ll never again wonder, "When should I pull my onions?" Instead, you’ll confidently harvest at peak flavor—every single time. Happy digging!
How to test onion maturity without guessing: the finger-press method
Harvesting onions at the perfect moment ensures sweet, flavorful bulbs instead of tough, pungent ones. The finger-press method gives you a foolproof way to test maturity without cutting into the plant.
This tactile approach works for all onion varieties—whether you're growing yellow onions, red onions, or white onions—and helps you avoid common mistakes like harvesting too early or too late.
Start by stopping watering 2-3 weeks before harvest. This reduces moisture in the bulbs, intensifying their flavor and making them easier to store. Once your onions show visual signs like yellowing tops or flattened foliage, it's time to put this method to work.
The key is finding the balance between a bulb that's fully mature but hasn't started to rot in the ground.
- Step 1: Choose a sunny day – Test onions in the morning after the soil has dried slightly. Wet soil can give false readings.
- Step 2: Locate the bulb – Gently brush away excess soil to expose the upper portion of the onion bulb (about 1-2 inches below the soil line).
- Step 3: Apply firm pressure – Use your thumb and forefinger to press gently but firmly on the bulb. Aim for 1-2 inches of depth into the soil.
- Step 4: Check resistance – If the bulb feels firm like a tennis ball and doesn't dent easily, it's ready. If it feels soft or squishy, wait 3-5 days and retest.
- Step 5: Verify the neck – Gently pull back the outer leaves to check the neck (stem area). If it's starting to dry and shrink but isn't completely brown, the onion is perfect for harvest.
🌱 Pro Tip: Test 2-3 onions from different parts of your garden for consistent results.
If your onions pass the finger-press test but the tops are still green and upright, wait another week. Overwatering or rich soil can delay the neck from drying, so don't rush the process.
Once you've confirmed maturity, pull onions on a dry, sunny day to allow them to cure properly in the garden for 1-2 weeks before storing.
Stopping watering too early can stress the plant, while waiting too long risks bolting (flowering) or rot. The finger-press method helps you strike that perfect balance, ensuring your onions are sweet, firm, and storage-ready.
For long-term storage, cure harvested onions in a dry, shaded area with good airflow for 2-3 weeks before braiding or storing in mesh bags.
This tactile approach works especially well in hot, dry climates where onions mature quickly. In cooler regions, you may need to extend the curing period slightly. The finger-press method gives you confidence in your harvest timing, so you can enjoy homegrown onions that outshine store-bought any day.