
Fertilization
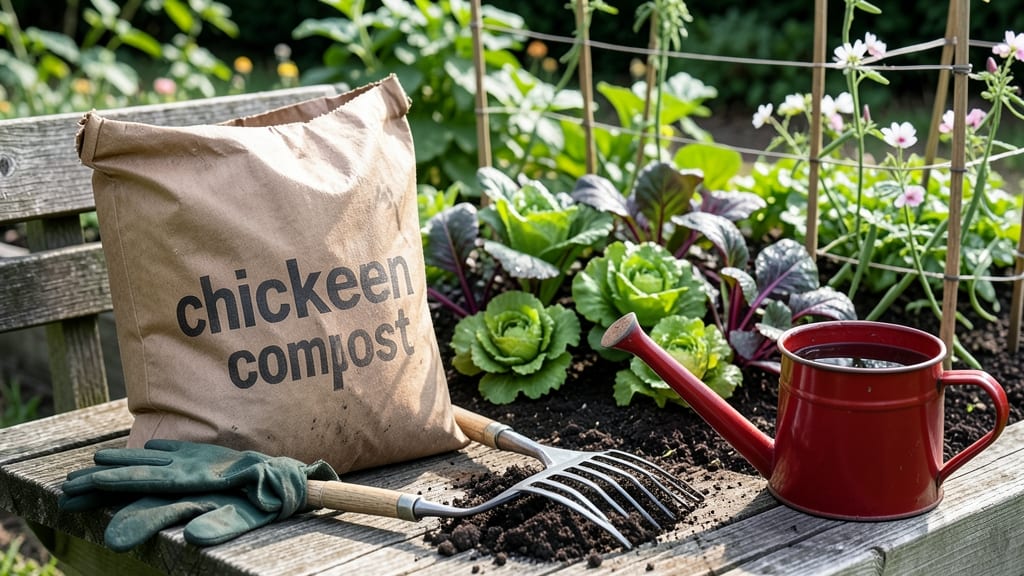
Using chicken fertilizer for gardens can transform your soil into a nutrient powerhouse 🌱—but only if you know how to handle it right.
Picture this: you’ve spent weeks nurturing your seedlings, only to see them wilt after a fresh pile of manure. That’s because raw chicken manure is a potent nitrogen source—too much too soon, and you’ll burn your plants instead of feeding them.
The secret lies in composting it properly, timing applications just right, and understanding which crops thrive with its rich nutrients.
This isn’t just about throwing manure on your garden and hoping for the best. We’re talking about boosting soil health, cutting fertilizer costs, and growing stronger, more productive plants—all while avoiding the common pitfalls that turn chicken fertilizer into a gardening disaster.
Whether you’re a backyard gardener or a homestead enthusiast, these proven techniques will help you harness its full potential.
Below, I’ll walk you through the step-by-step process—from composting to application—so you can turn chicken manure into the game-changer your garden needs. Let’s get started.
How to use chicken manure fertilizer for maximum garden growth
Chicken manure is a gardener’s secret weapon—packed with nitrogen and organic matter, it supercharges soil fertility. But raw manure can burn plants if not handled correctly. The key is proper preparation and timing.
Whether you’re growing vegetables, flowers, or a lush lawn, this nutrient powerhouse delivers results when used right. Let’s break down the best methods to unlock its full potential without risking your garden’s health.
First, understand that fresh chicken manure is too potent for direct use. Its high nitrogen content can scorch plant roots and disrupt soil microbes. Instead, we’ll focus on three proven methods: composting, aged pile curing, and liquid fertilizer.
Each method balances nutrients while protecting your plants. For best results, apply manure during the off-season (fall or early spring) when plants aren’t actively growing, giving soil time to stabilize.
Mix chicken manure with carbon-rich materials (straw, leaves, or wood chips) in a 2:1 ratio. Turn the pile every 2-3 weeks to speed up decomposition. After 3-6 months, the compost will be dark, crumbly, and safe to use.
Pile raw manure in a covered bin or shaded area for 4-6 months. Stir occasionally to aerate. By the time it’s ready, the ammonia smell will fade, and the texture will soften. Spread 1-2 inches over garden beds in early spring.
Fill a 5-gallon bucket with water and add 1 part aged manure to 3 parts water. Stir daily for 3-5 days, then strain. Use the liquid fertilizer at a 1:10 dilution (1 part tea to 10 parts water) every 2-4 weeks during the growing season.
Vegetables: Apply composted manure 2-3 months before planting (e.g., tomatoes, peppers, or leafy greens). Side-dress with liquid fertilizer mid-season. Flowers: Use aged manure in early spring for bulbs and perennials. Avoid over-fertilizing annuals like petunias. Lawns: Spread composted manure in fall or early spring for slow-release nutrients. Rake lightly to avoid clumping.
Balancing nitrogen with other nutrients is crucial. Chicken manure is heavy on nitrogen, which fuels leafy growth, but your garden also needs phosphorus (for roots) and potassium (for disease resistance).
To round out your soil, mix in composted bone meal (phosphorus) or greensand (potassium). For container gardens, blend aged manure with worm castings to improve texture and moisture retention.
For vegetable gardens, focus on leafy crops like lettuce, spinach, and kale—they thrive on nitrogen. However, root vegetables (carrots, beets) and fruiting plants (tomatoes, peppers) need a more balanced approach.
Reduce manure applications mid-season and switch to a low-nitrogen fertilizer to encourage flowering and fruiting. Always water thoroughly after applying manure to help nutrients penetrate the soil and prevent burning.
Monitor your plants for signs of over-fertilization, such as yellowing leaves, stunted growth, or foul odors. If you notice these, flush the soil with water and reduce future applications.
For newly planted seedlings, wait until they’re established (3-4 weeks old) before applying any manure-based fertilizer. Young roots are delicate and can’t handle the concentrated nutrients.
Incorporate chicken manure into your spring garden prep by working it into the top 6-8 inches of soil. For lawns, use a broadcast spreader to apply a thin layer (¼ inch) and mow afterward to distribute evenly.
Remember, consistency is key—light applications every few weeks yield better results than one heavy dose. Your garden will reward you with darker green foliage, stronger stems, and bigger yields.
Pro tip: Keep a garden journal to track when and how much manure you apply. Note which plants respond best and adjust your strategy for next season. Over time, you’ll fine-tune your approach to create a thriving, nutrient-rich garden that’s the envy of the neighborhood. Happy growing!
Chicken manure vs. commercial fertilizers: nitrogen power compared
When it comes to feeding your garden, chicken manure stands out as a powerhouse for nitrogen-rich growth. But how does it stack up against commercial fertilizers? The answer depends on your garden’s needs, budget, and environmental goals.
Raw chicken manure delivers high nitrogen (N)—often 3-4% by weight—but requires careful handling, while synthetic blends offer precise N-P-K ratios with instant results.
Composted chicken manure, however, becomes a balanced soil amendment, releasing nutrients slowly and improving soil structure. This makes it ideal for long-term garden health, while commercial fertilizers provide quick fixes for hungry plants like tomatoes or corn.
Let’s break down the key differences so you can choose what works best for your backyard garden or container plants.
For vegetable gardens, composted chicken manure is my top pick—it’s gentler on roots and packed with organic matter that improves soil structure over time.
If you’re growing nitrogen-loving crops like leafy greens or corn, a mix of composted manure and a balanced synthetic fertilizer (like 10-10-10) can give you the best of both worlds: long-term soil health and immediate growth.
Cost-wise, chicken manure wins—especially if you have a local farm connection. A 50-pound bag of composted manure costs about $5, while synthetic fertilizers can run $20+ for the same volume. Plus, manure improves water retention and microbe activity, which synthetics can’t match.
For container gardens, though, I often blend composted manure with a slow-release synthetic to avoid overloading potted plants with nutrients.
Environmentally, raw chicken manure is a double-edged sword: it’s free and nutrient-dense, but it can burn plants if not composted first. Synthetics, while precise, often rely on petroleum-based ingredients and can leach into groundwater.
The middle ground? Composted manure—it’s eco-friendly, plant-safe, and builds soil fertility for years. For lawns, a light application of composted manure in spring or fall keeps grass green and resilient without the chemical risks.
So, which should you choose? If you’re after organic gardening and long-term soil health, composted chicken manure is your best bet. Need a quick fix for hungry plants? A synthetic blend might be better.
For most home gardens, I recommend a hybrid approach: use composted manure as your base and supplement with synthetics during peak growth seasons. Your plants—and your wallet—will thank you!